I don’t know about you, but as much as I love my hair, the idea of spending long time caring for it does not appeal at all. On the contrary I have embraced my natural curls, together with my silvers, precisely to get rid of the time-consuming slavery of the dye and the straightening! Having a super quick curly hair routine was my dream since the beginning, but I have to admit it took a lot of experiments and products try out to find out something that was going to deliver a good result in a short time.
Good over perfect all the way for me!
First thing first: perfect does not mean anything in itself. And sounds a bit unrealistic too. My curl pattern is uneven, I have different curl types, some waves and some super coily strands, somewhere my hair tend to be frizzy, somewhere is soft and smooth.
Furthermore, if to get what might be considered as perfect curly hair, I have to spend more than 45 minutes for air diffusing only, I’m telling you: I’m out. There are a million things I’d rather do, from reading to daydreaming, you name it.
This super quick curly hair routine has anyway a very good results, and being easy it is really something I can do on a regular basis, which is actually a great win for me, as consistency is the first step in a successful curly hair routine.
What does super quick mean?
When I say super quick, I mean that this routine takes about 20/30 minutes post wash, according to your hair length and type. For me it’s about 5 minutes of products application and scrunching, and around 15 minutes of diffusing, then I let my hair air dry (and that’s it during the warmer months, or I just air diffuse for another couple of minutes after a while during the colder months).
Let’s dive in this super quick curly hair routine
The thing I love more about the products I use for this routine is that they are all quite natural and are totally cruelty free, that is they are not tested on animals!
First step: leave water in!
After washing my hair, I squeeze them gently to eliminate the excess water, I absolutely avoid a towel, and I tend to leave them quite dripping, as I found the more water I leave in when I start applying the products, the better the final result!
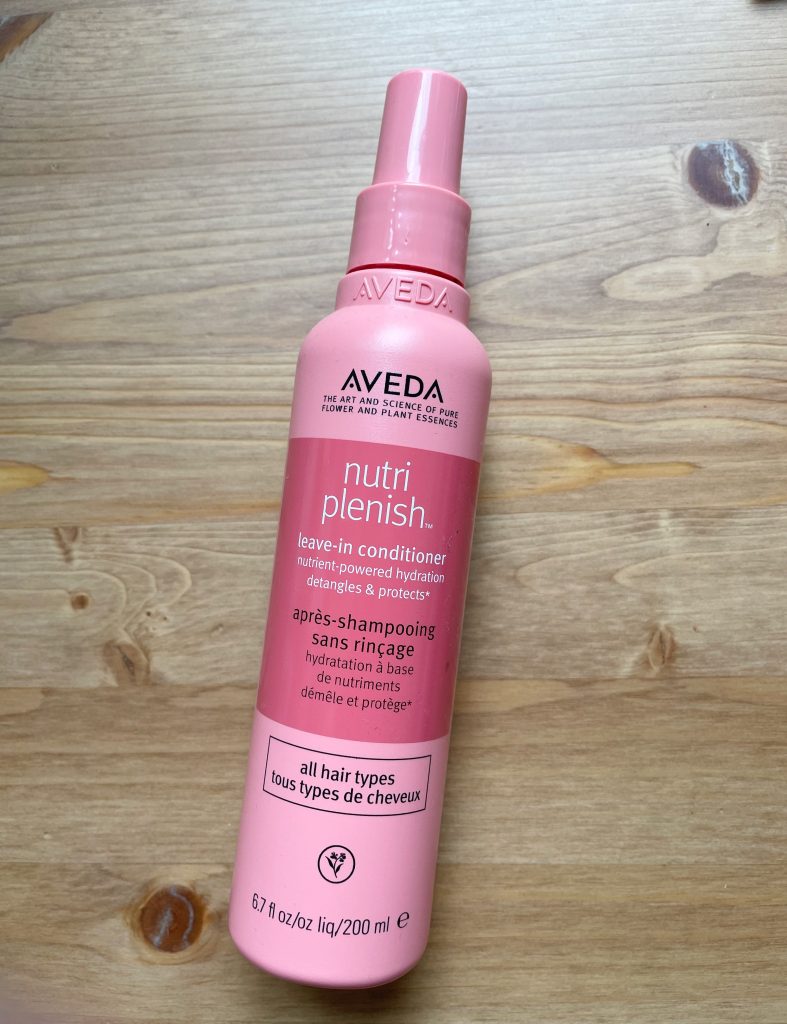
Second step: leave in conditioner
I then get in front of the mirror and I start by applying a leave in conditioner, like Aveda nutri plenish leave-in conditioner: it is really ideal thanks to its spray bottle that guarantees an easy application, and it detangles and hydrates, while protecting my hair from heat damage. (In fact, is my go-to in the rare occasions I want to straighten my hair too!)
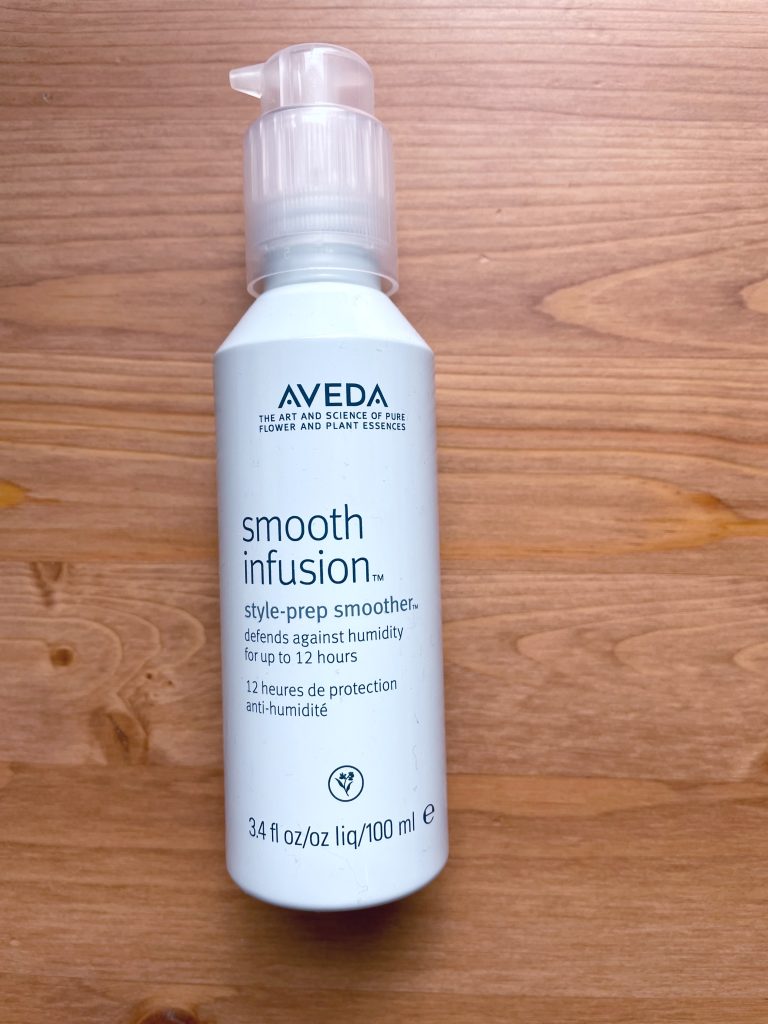
Third step: prevent the frizz
In order to minimise the frizz and have the best result possible, I apply a couple of pea size drops of Aveda Smooth Infusion. It is a style prep smoother, and I use it mainly on the strands that tend to be frizzy. It has a bottle with a practical dispenser, it really takes 30 seconds to apply!
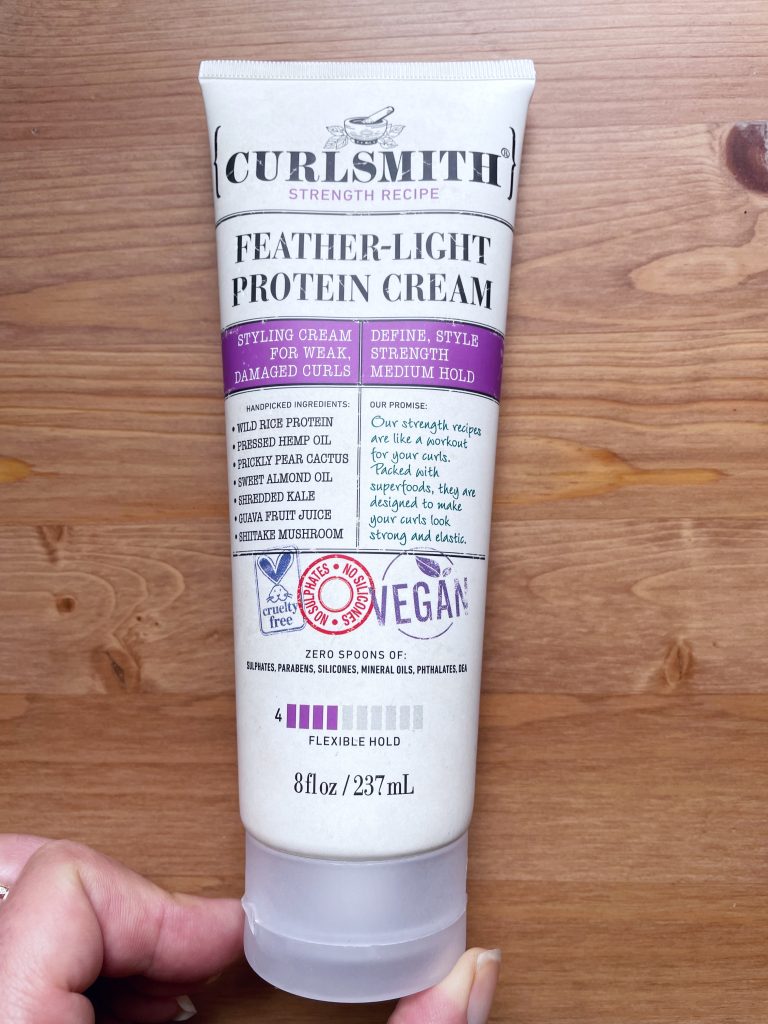
Fourth step: the curl enhancer/styler
At this point I flip my hair down, and start applying my favourite styler: Curlsmith Feather-like protein cream. I love this product as it delivers what it says on the bottle: soft and bouncy curls without weighting down my hair, and without that rigid feeling you tend to have after using a protein-based curl product. I start applying it first raking through my hair to distribute it evenly, and then finish quickly with just a little bit of product using the praying hands technique. The aim here is to seal the hair cuticle to have the hair retain the moisture, and helps the clump formation. After that I quickly scrunch my hair up to help the curls take their form.
Fifth step: Air diffusing
This is actually the last real step: I use a wide air diffuser, and cup my curls sections for 5 seconds repeatedly, to allow the curls to dry slightly ensuring they maintain their form, and allowing the product to create a soft cast. I do that for about 15 minutes, and then I let my hair to air dry. In winter I then go back to finish it quickly with my hair flipped over to give a bit of volume to the roots, in summer I do it without the air diffuser, just massaging the roots, and breaking the light cast and it’s done!
I reckon the products are not cheap, but they are so good that are totally worth the money, AND if you can find them on Lookfantastic clicking this link, usually at a good discounted price!
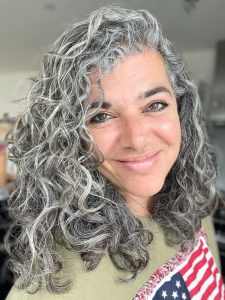
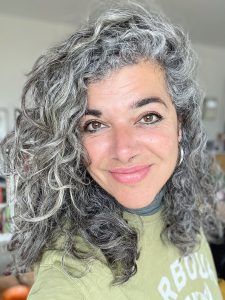
To give you an idea of the results you can see above the air on wash day, just after finishing air drying it, and below the hair on the day 2, actually after a work out! As you can see the definition is still there, and they are super soft and pleasurable to touch!
If you want to know more about my journey to embrace my natural curls or my favourite purple shampoos, read my blog posts in the grey hair section!
Do you have a better routine for your curls? Let me know in the comments!